How to build your own DIY acoustic panels to treat your room for recording audio
May 18, 2022
John Aldred
John Aldred is a photographer with over 20 years of experience in the portrait and commercial worlds. He is based in Scotland and has been an early adopter – and occasional beta tester – of almost every digital imaging technology in that time. As well as his creative visual work, John uses 3D printing, electronics and programming to create his own photography and filmmaking tools and consults for a number of brands across the industry.
Share:
How to build your own DIY acoustic panels to treat your room for recording audio
May 18, 2022
John Aldred
John Aldred is a photographer with over 20 years of experience in the portrait and commercial worlds. He is based in Scotland and has been an early adopter – and occasional beta tester – of almost every digital imaging technology in that time. As well as his creative visual work, John uses 3D printing, electronics and programming to create his own photography and filmmaking tools and consults for a number of brands across the industry.
Share on:

If you’ve ever tried shooting a video indoors where good sound is important, you’ve no doubt come across the issue of reverb. It’s the echo that you typically hear in a recording in an untreated room with a microphone placed too far from your subject. It’s an issue that most indoor spaces face, but it’s one that can be overcome with a little work.
The team at Syrp Lab recently rebuilt their gear room for filming in and they’ve faced this challenge. So, in this video, they build their own DIY acoustic panels to help treat the space and deal with some of the echo picked up by their cameras and microphones.
The cause of room reverberation is basically lots of hard flat surfaces off which sound can reflect. Walls, ceilings, cupboards and furniture with big flat areas are all surfaces that audio likes to bounce off. The trick to dealing with them is to use materials that absorb and/or disperse those sounds and arrange them in such a way that they don’t reflect back towards the microphone.
The Syrp team begins by consulting with an audio expert. This allowed them to understand the noise and reverberation of their existing space using a piece of software called Room EQ Wizard, proving that it definitely needed some work – just in case listening to the playback of the audio recording hadn’t already convinced you. So off the team set building their panels, starting with the frames for what would become their sound panel boxes.

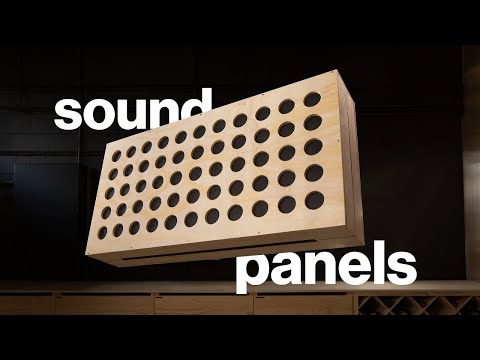
The team builds a number of boxes, some larger panels for the ceiling and some smaller free-standing panels that can be wheeled around the room as needed on stands. But the process is essentially the same for both types. Build a frame, cover it in acoustically transparent material and stuff the insides with rock wool. The material pulls double duty. First it keeps all the rock wool inside the box where it’s supposed to be and it also allows the sound to pass through it, letting the rock wool do its job of diffusing and dispersing the sound waves.
The thicker you go on the boxes the better, but there are obvious practical limitations on how thick you can go. For a start, the thicker your panels are, the smaller your room gets. Panels that are too thick and chunky can also be difficult to wheel around a studio to different locations as you need them. That’s not so much an issue for permanently attached ones that stay out of your way – like those in the ceiling – but for those that need to be mobile, it’s an important factor.

You can see the whole build process for both types of boxes in the video above and you can also hear the before and after sound comparison, as well as the before and after graphics from Room EQ Wizard showing the real changes that their hard work has made to the audio in the room.
There are other things you can do to help sound treat a room, but panels like these are a great start. If you’ve never even thought about panels before and have no idea how to build them up, then this video should help get you heading in the right direction.
How have you treated your space for recording audio?

John Aldred
John Aldred is a photographer with over 20 years of experience in the portrait and commercial worlds. He is based in Scotland and has been an early adopter – and occasional beta tester – of almost every digital imaging technology in that time. As well as his creative visual work, John uses 3D printing, electronics and programming to create his own photography and filmmaking tools and consults for a number of brands across the industry.


Join the Discussion
DIYP Comment Policy
Be nice, be on-topic, no personal information or flames.